> ## Documentation Index
> Fetch the complete documentation index at: https://polyai-mintlify-7055a538.mintlify.site/llms.txt
> Use this file to discover all available pages before exploring further.
# Quickstart
> Create an account, build your first agent, and deploy it in minutes.
Create an account, build an agent, add knowledge, test it, and deploy. Five steps.
**In a hurry?** [Wren](/wren/introduction) is the fastest way to scaffold an agent — describe what you want and it generates flows, topics, entities, and settings on a branch you can review. The manual steps below still work if you'd rather build it by hand.
## Prerequisites
* A use case in mind (e.g., customer support, reservations, FAQ)
Go to the [sign-up page](https://studio.us.poly.ai/) and create your PolyAI account.
1. Click **"Sign up with Google"**
2. Select your Google account or enter your credentials
3. Click **"Continue"** to authorize PolyAI
 1. Enter your **first name**, **last name**, and **email address**
2. Create a password (at least 12 characters, with 3 of 4 character types: lowercase, uppercase, numbers, special characters)
3. Click **"Create account"** and verify your email
1. Enter your **first name**, **last name**, and **email address**
2. Create a password (at least 12 characters, with 3 of 4 character types: lowercase, uppercase, numbers, special characters)
3. Click **"Create account"** and verify your email
 Once signed in, you'll land on the Agent Studio home page.
From the home page, click **+ Agent** to start the agent creation wizard. You can create a blank agent or import an existing configuration.
Configure the basics:
* **Agent name**, internal identifier for your project
* **Response language**, primary language for responses (see [multilingual support](/behavior/language/multilingual) for additional languages)
* **Voice**, select from available [text-to-speech (TTS)](https://en.wikipedia.org/wiki/Speech_synthesis) voices
* **Welcome greeting**, first message users receive (can be customized later in [agent settings](/behavior/general/agent))
Click **Next** to enter Agent Studio.
Once signed in, you'll land on the Agent Studio home page.
From the home page, click **+ Agent** to start the agent creation wizard. You can create a blank agent or import an existing configuration.
Configure the basics:
* **Agent name**, internal identifier for your project
* **Response language**, primary language for responses (see [multilingual support](/behavior/language/multilingual) for additional languages)
* **Voice**, select from available [text-to-speech (TTS)](https://en.wikipedia.org/wiki/Speech_synthesis) voices
* **Welcome greeting**, first message users receive (can be customized later in [agent settings](/behavior/general/agent))
Click **Next** to enter Agent Studio.
 You can also duplicate an existing agent by clicking the three-dot menu next to any agent on the home page.
Navigate to **Knowledge > FAQs** in the sidebar.
Click **Add topic** and provide:
* **Topic name**, what this topic covers (e.g., "Store hours")
* **Sample questions**, up to 20 ways users might ask (e.g., "When are you open?")
* **Answer**, the response your agent should give
Click **Save** to create the topic.
You can also duplicate an existing agent by clicking the three-dot menu next to any agent on the home page.
Navigate to **Knowledge > FAQs** in the sidebar.
Click **Add topic** and provide:
* **Topic name**, what this topic covers (e.g., "Store hours")
* **Sample questions**, up to 20 ways users might ask (e.g., "When are you open?")
* **Answer**, the response your agent should give
Click **Save** to create the topic.
 Changes are saved as **Drafts**. Publish to **Sandbox** to test them. Learn more about [environments and versions](/environments-and-versions/introduction).
**Optional:** Add more topics to expand your agent's capabilities. You can also:
* Upload PDFs or URLs to auto-generate topics
* Connect external knowledge sources like [Zendesk](/integrations/zendesk) or [Google Sheets](/integrations/google-sheets) using the [Connected tab](/knowledge/sources/introduction) in Knowledge
* Add [actions](/knowledge/faqs/actions/introduction) to trigger handoffs, SMS, or other behaviors
See the full [FAQs guide](/knowledge/faqs/introduction) for details on how [RAG](/knowledge/faqs/RAG/introduction) (retrieval-augmented generation) powers topic matching.
The fastest way to test, uses your device's microphone directly.
1. Click the **phone icon** in the top-right corner
2. Select **Sandbox** from the environment dropdown
3. Begin speaking to your agent
Changes are saved as **Drafts**. Publish to **Sandbox** to test them. Learn more about [environments and versions](/environments-and-versions/introduction).
**Optional:** Add more topics to expand your agent's capabilities. You can also:
* Upload PDFs or URLs to auto-generate topics
* Connect external knowledge sources like [Zendesk](/integrations/zendesk) or [Google Sheets](/integrations/google-sheets) using the [Connected tab](/knowledge/sources/introduction) in Knowledge
* Add [actions](/knowledge/faqs/actions/introduction) to trigger handoffs, SMS, or other behaviors
See the full [FAQs guide](/knowledge/faqs/introduction) for details on how [RAG](/knowledge/faqs/RAG/introduction) (retrieval-augmented generation) powers topic matching.
The fastest way to test, uses your device's microphone directly.
1. Click the **phone icon** in the top-right corner
2. Select **Sandbox** from the environment dropdown
3. Begin speaking to your agent
 Test with text-based chat, directly from Agent Studio.
1. Go to the agent main page
2. Click the **webchat icon** to open a text-based conversation
The chat window shows tool calls and topic citations alongside the conversation. Click the Settings icon to toggle these.
Test with text-based chat, directly from Agent Studio.
1. Go to the agent main page
2. Click the **webchat icon** to open a text-based conversation
The chat window shows tool calls and topic citations alongside the conversation. Click the Settings icon to toggle these.
 See [webchat setup](/messaging-channel/introduction) for more details.
Test in a production-like environment by calling a connected number.
1. Go to **Voice > Numbers** in the sidebar
2. Click **"Add number"** to purchase a number or connect an existing one
3. Call the number to speak with your agent
See [Numbers](/voice-channel/numbers/introduction) for setup instructions.
**Testing tips:**
* Use specific keywords to trigger your agent's topics
* Test with different accents and speaking styles
* For [multilingual agents](/behavior/language/multilingual), switch languages mid-conversation to test detection
* Review conversations in the [Conversations dashboard](/analytics/conversations/introduction) after testing
Promote your agent through the deployment pipeline:
1. Go to **Deployments** in the sidebar
2. Click **Promote to Pre-release** for user acceptance testing (if available in your project)
3. Click **Promote to Live** to make your agent production-ready
Each environment can have its own phone number and configuration.
See [webchat setup](/messaging-channel/introduction) for more details.
Test in a production-like environment by calling a connected number.
1. Go to **Voice > Numbers** in the sidebar
2. Click **"Add number"** to purchase a number or connect an existing one
3. Call the number to speak with your agent
See [Numbers](/voice-channel/numbers/introduction) for setup instructions.
**Testing tips:**
* Use specific keywords to trigger your agent's topics
* Test with different accents and speaking styles
* For [multilingual agents](/behavior/language/multilingual), switch languages mid-conversation to test detection
* Review conversations in the [Conversations dashboard](/analytics/conversations/introduction) after testing
Promote your agent through the deployment pipeline:
1. Go to **Deployments** in the sidebar
2. Click **Promote to Pre-release** for user acceptance testing (if available in your project)
3. Click **Promote to Live** to make your agent production-ready
Each environment can have its own phone number and configuration.
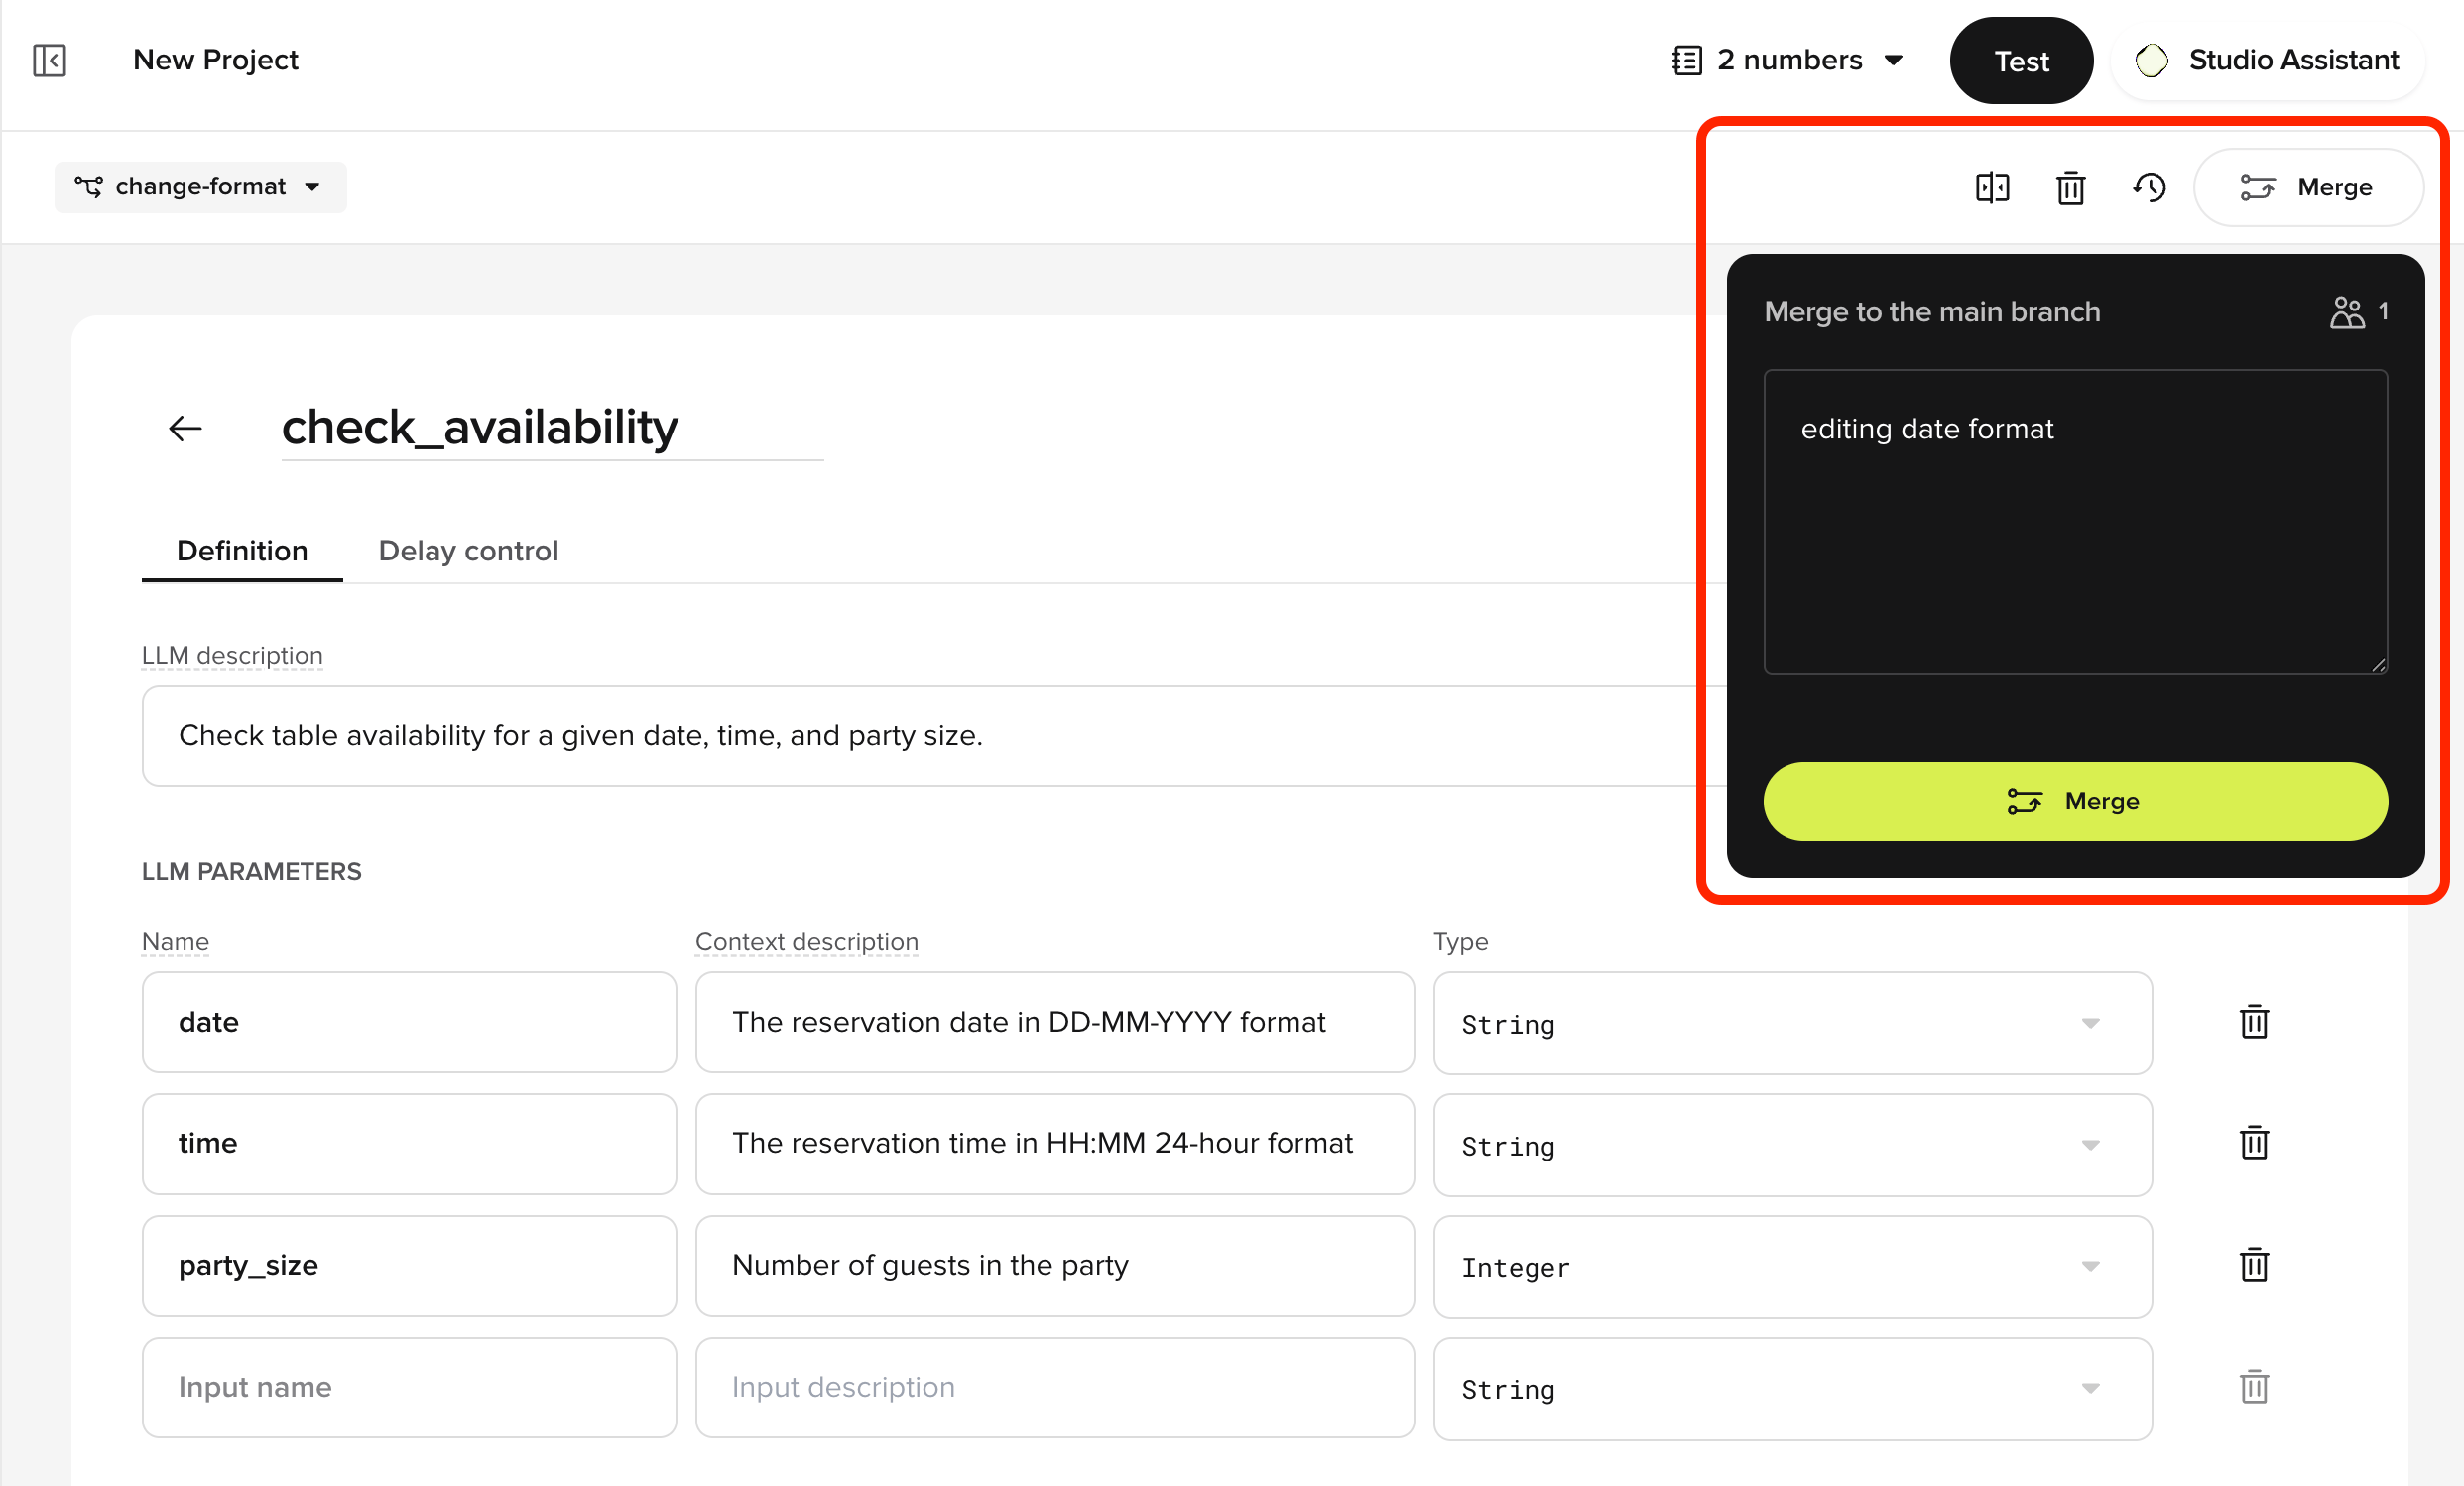 Some projects use a simplified pipeline that promotes directly from Sandbox to Live, skipping Pre-release. You can roll back to any previous version if issues arise, see the [deployment pipeline guide](/environments-and-versions/introduction) for details.
## Next steps
Connect APIs and add dynamic behavior with Python functions
Multi-step workflows for bookings, forms, and structured tasks
TTS, voice selection, and audio settings
Dashboards, conversation review, and metrics
## How your agent works
Each conversation turn follows a pipeline: **ASR** (speech to text) → **LLM** (knowledge retrieval and response generation) → **TTS** (text to speech). See [architecture](/glossary/architecture) for a detailed breakdown, or [processing order](/essentials/order) for the step-by-step flow.
Some projects use a simplified pipeline that promotes directly from Sandbox to Live, skipping Pre-release. You can roll back to any previous version if issues arise, see the [deployment pipeline guide](/environments-and-versions/introduction) for details.
## Next steps
Connect APIs and add dynamic behavior with Python functions
Multi-step workflows for bookings, forms, and structured tasks
TTS, voice selection, and audio settings
Dashboards, conversation review, and metrics
## How your agent works
Each conversation turn follows a pipeline: **ASR** (speech to text) → **LLM** (knowledge retrieval and response generation) → **TTS** (text to speech). See [architecture](/glossary/architecture) for a detailed breakdown, or [processing order](/essentials/order) for the step-by-step flow.